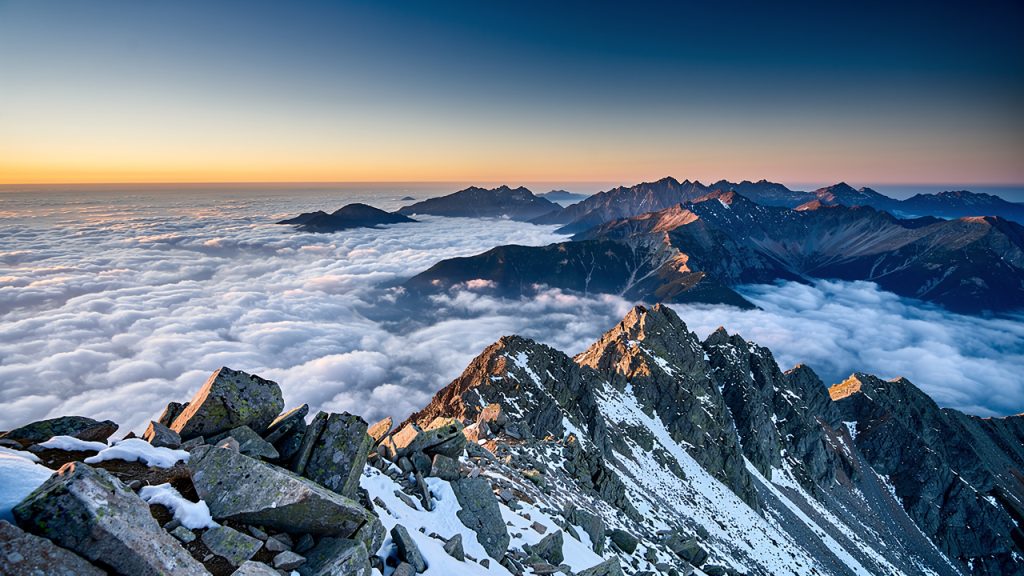
For perfect photos of Musala Peak, the key is to make the most of the “golden hours” in the morning and late afternoon, as well as choosing locations beyond the summit itself. Preparation includes reliable equipment and checking the weather conditions and lift operation in advance.
- The best shots are taken an hour after sunrise or an hour before sunset, when the light is soft and the shadows are long.
- Besides the summit, the Ice Lake and the rock formations around it offer unique photographic compositions.
- For winter photography, carrying spare batteries is essential, as the cold drains them very quickly.
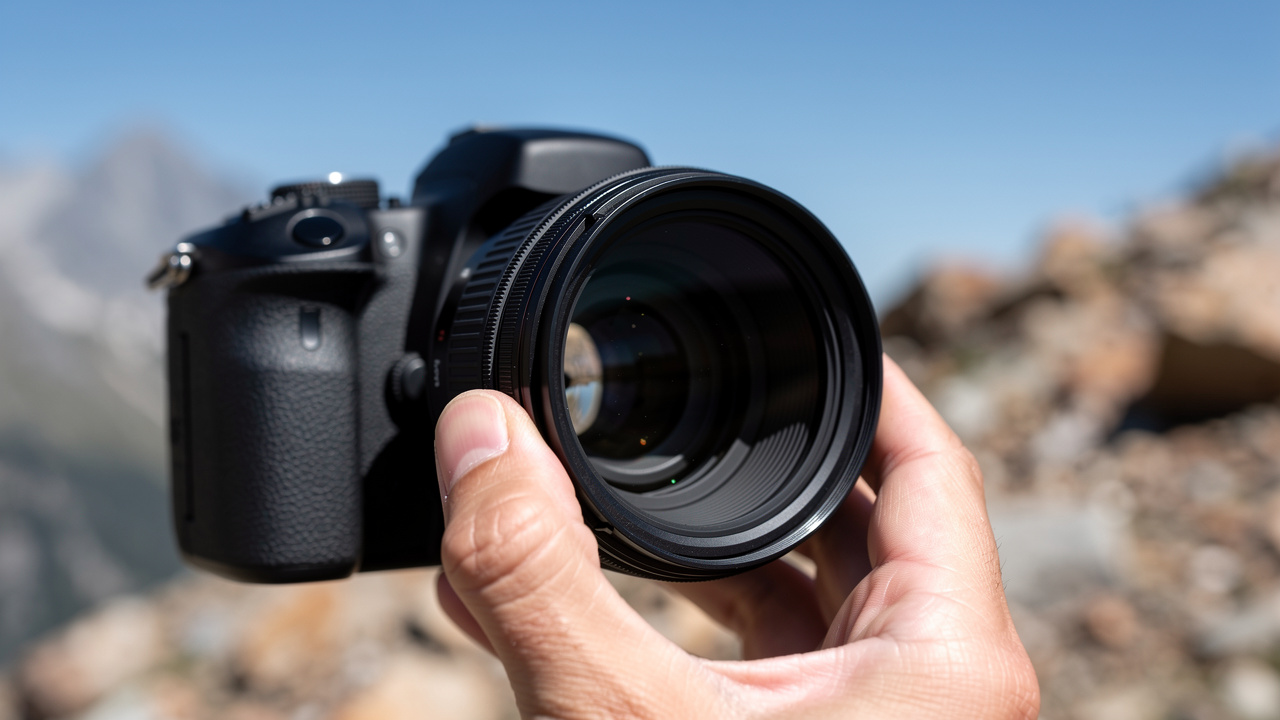
- Using a polarizing filter helps eliminate glare and enhances the saturation of the sky.
- Plan for the cost of the lift, which is around €15-20 per person for a round-trip ticket during the active season.
To capture Musala Peak in its best light, simply reaching the highest point is not enough. The key is planning around the “golden hours” – early morning and late afternoon, when the low sun creates contrast and depth that are missing at midday. The most impressive shots often happen before or after the main crowds of tourists arrive, when you can enjoy complete solitude in nature.
Climbing the highest peak in the Balkans is more than a sporting achievement; it is a summer ritual for thousands of Bulgarians. As of 2026, access is easier, but this shifts the challenge from physical to creative. Taking a different, compelling photo in such a popular place requires preparation and a willingness to look beyond the obvious in order to capture its true spirit.
Photographic success here depends on three factors: light, composition, and the ability to anticipate weather conditions. A good shot tells a story about the grandeur of the mountain rather than simply documenting someone’s presence at the summit. That is the difference between a souvenir photo and a work of art.
| Location | Type of View | Best Time | Access Difficulty | Photographic Potential |
|---|---|---|---|---|
| Yastrebets Lift | Panorama of the Musala Cirque | Afternoon | Very low | Good for wide shots and context, but often crowded. |
| Around Musala Hut | River, small bridges, low vegetation | Early morning | Low (after the lift) | Excellent opportunities for details and reflections in the water. |
| Ice Lake | Reflections of the summit, rocks, shelter | Morning (calm conditions) | Moderate | The key point before the final ascent; mirror-like shots. |
| The Summit | 360° panorama, sea of clouds | Sunrise/Sunset | High | Requires perfect timing and good luck with the weather; advanced-level photography. |
Planning the Photo Expedition: Equipment and Logistics
Does the Musala lift operate all year round?
No, the ‘Yastrebets’ gondola lift operates seasonally, mainly during summer and winter. Always check its current operating hours and maintenance schedules before planning your trip, especially during the shoulder seasons.
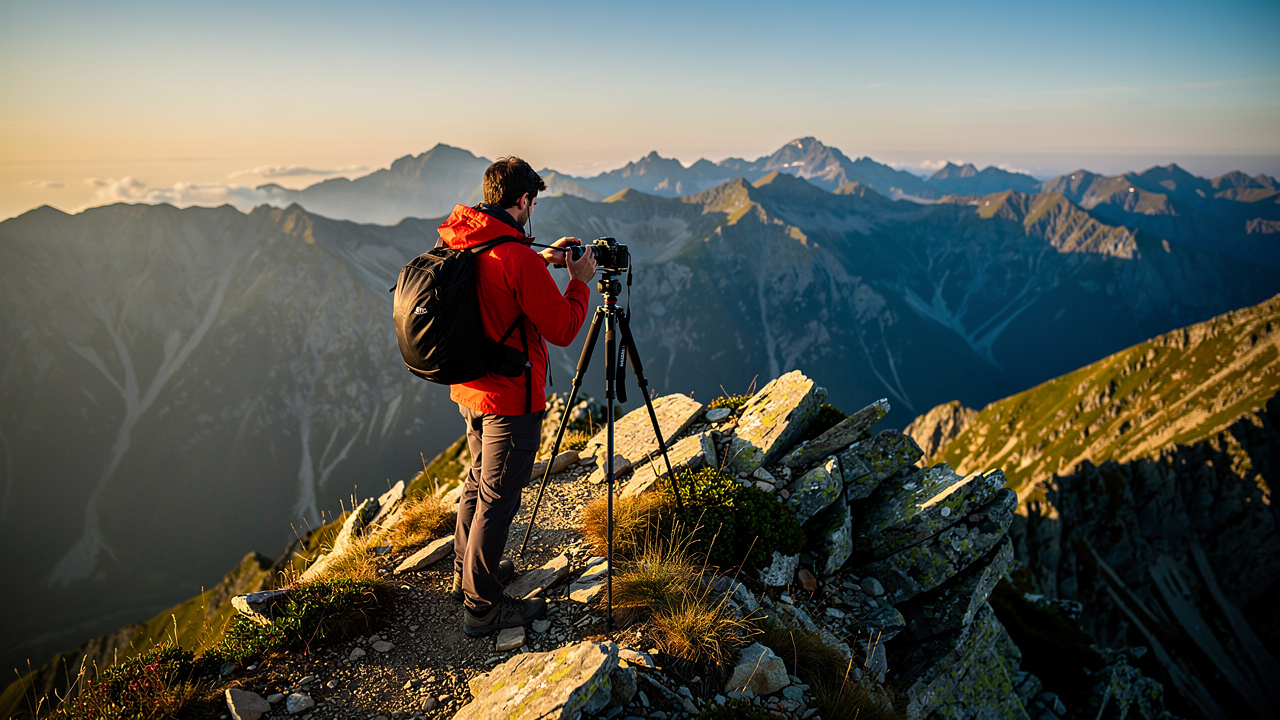
Proper preparation is 80% of the success in mountain photography. For Musala Peak, this means not only hiking gear but photographic equipment as well. In addition to sturdy boots and a waterproof jacket, your backpack should have room for a tripod, polarizing filter, and spare batteries. The cold at nearly 3,000 meters above sea level drains batteries up to twice as fast, especially in winter.
Logistics begin with checking two things: the weather forecast and the lift status. Weather in Rila can change within minutes. Even when it is sunny in Borovets, the summit may be shrouded in dense fog and strong winds. Use several independent forecast sources. As of 2026, the price of a round-trip lift ticket is around €15-20, but it saves hours of walking and energy that are invaluable for the final ascent and creative work.
The practical approach is to take the first lift in the morning. This gives you a head start over the main groups and an opportunity to catch better light along the route. If you are aiming for sunrise or sunset, you will need to spend the night at Musala Hut or the Ice Lake Shelter, which requires advance booking.
What Are the Key Photography Locations Along the Route?
What are the most photogenic places along the trail to Musala Peak?
One of the key locations is the area around Musala Hut. There, the morning mist above the river and the low bridges create a mystical atmosphere, ideal for impressive photos before the climb to the summit.
The route from the ‘Yastrebets’ lift station to the summit is dotted with photographic opportunities that many hikers miss in their hurry. The first key area is around Musala Hut itself. Here, the river and low bridges offer excellent foregrounds, while the morning mist drifting over the water creates a mystical atmosphere. Do not rush to continue uphill immediately.
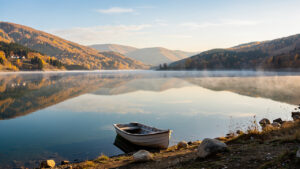
The next stop is the Ice Lake Shelter. This is perhaps the most photogenic spot before the summit itself. In calm conditions, the lake becomes a perfect mirror, reflecting the jagged silhouette of Musala. Look for a composition that also includes the small shelter on the shore to provide a sense of scale. The expert approach here is to shoot from as low an angle as possible, almost at water level, to enhance the reflection.
Location: Ice Lake
Elevation: 2,709 m
Photography Tip: Use a wide-angle lens for dramatic reflections.
Risk: Sudden gusts of wind can knock over the tripod.
Musala Peak itself offers a 360-degree panorama that is breathtaking but difficult to photograph. The most common mistake is simply taking a panoramic shot without a clear focal point. Instead, try isolating specific elements – the Bulgarian Academy of Sciences building, a distant peak breaking through the clouds, or an interesting rock formation in the foreground. This gives the shot depth and a story.
Techniques for Capturing the Perfect Shot of Musala Peak
What is unique about the view from Musala Peak?
Its uniqueness lies in the 360-degree panorama, from which, in clear weather, all the major mountain ranges in Bulgaria can be seen – Pirin, Stara Planina, Vitosha, and the Rhodopes. The view over a sea of clouds is also common and exceptionally photogenic.
Professionals approach photographing Musala Peak with a clear strategy for working with light. The best photos are taken during the so-called “golden hours” – the first hour after sunrise and the last hour before sunset. The sun is low, the shadows are long and soft, and the colors are warm and saturated. Shooting at midday, especially in summer, results in flat, lifeless images with excessive contrast and little detail in the shadows.
Using a polarizing filter (CPL) is essential. It does two things: removes glare from rocks and the surface of lakes, and most importantly, enhances the blue of the sky, making it deeper and more dramatic. The difference between a shot with and without a polarizer is enormous, especially on a clear sunny day at high altitude. Rotate the filter until you see the maximum effect.
Composition is what sets a good shot apart. Instead of centering the summit, use the rule of thirds. Place the horizon in the upper or lower third of the frame rather than in the middle. Look for leading lines – a hiking trail, river, or series of rocks that guide the viewer’s eye deeper into the image. A good example is the trail winding toward the Ice Lake Shelter – it is a perfect leading line toward the distant summit.
How to Avoid the Most Common Mistakes When Photographing in the Mountains
The biggest failure in mountain photography is underestimating the conditions. People set out with a completely drained phone battery, expecting to charge it somewhere, or without suitable clothing, which forces them to hurry and leaves them no time for photography. Always carry a power bank and dress in layers so you can adapt to changes in temperature.
Another common mistake is neglecting the foreground. Many photographers focus only on the distant panorama, leaving their photos looking empty and two-dimensional. A successful landscape almost always has three elements: an interesting foreground (a flower, rock, or section of trail), the main subject (the summit, lake), and the background (the sky, distant mountains). Actively look for a foreground subject before raising the camera.
Common Mistake: Using flash for landscape photography.
Result: It only illuminates particles in the air while the landscape remains dark.
Correct Approach: Use a tripod and a long exposure in low light.
Critical Setting: Turn off the camera/phone’s automatic flash.
Do not rely on your phone’s zoom. Digital zoom simply crops part of the image and drastically reduces quality. If you want to get closer to a subject, it is better to physically move closer to it. If that is impossible, take a wider shot at high quality and crop it later during editing. This gives you much more control and preserves detail.
Beyond the Standard Shot: Finding a Unique Perspective
Most photos of Musala Peak are taken from three places: the hut, Ice Lake, and the summit itself. To create something different, you need to step off the beaten path – literally and figuratively. Instead of photographing the summit from the lakeshore, walk around the lake and climb the opposite slope. From there, you get a less commonly seen perspective with the lake in the foreground.
One of the best tips for unique shots is to turn your back on the main subject. While everyone else is photographing the summit, turn around 180 degrees and look behind you. The views toward the neighboring peaks and valleys are often no less impressive, but remain largely unphotographed. This is especially true at sunset, when the light paints the eastern slopes in beautiful shades of pink.
Experiment with abstract and minimalist compositions. Instead of the entire panorama, focus on a detail: the texture of weathered rock covered with lichen; shapes carved by the wind into the snow; or the reflection of a single cloud in a small puddle of water. These shots often convey more of the feeling of a place than yet another wide panorama. The true “vibe” of the mountain lies in the details, far from the tourist flow. The Bulgarian Academy of Sciences research station at the summit, with its antennas and domes, can also be an interesting subject for almost futuristic photographs, especially in fog.
Frequently Asked Questions
How long does it take to climb Musala Peak?
From the upper station of the ‘Yastrebets’ lift, the climb takes around 3-4 hours one way at a normal pace. The entire hike, including the return, usually takes 6-8 hours. The time can vary significantly depending on physical fitness, weather conditions, and the number of breaks.
Is Musala Peak difficult for beginners to climb?
The route is considered moderately difficult. Although there are no technically challenging or vertical sections, the high altitude and length of the hike are demanding. Beginners should be in good physical shape and choose a day with a favorable forecast. The final climb from the ‘Ice Lake Shelter’ is the steepest section.
What is the best season for climbing and photographing Musala?
The most favorable and popular season is summer, from late June to mid-September, when the weather is most stable and the trails are clear of snow. Early autumn also offers beautiful colors and fewer tourists. A winter ascent is possible, but it is only for highly experienced mountaineers with specialized equipment because of avalanche danger and harsh conditions.
Are there places to eat and sleep along the route?
Yes, there are two main options along the route. ‘Musala Hut’, about an hour’s walk from the lift, offers food and accommodation. Higher up is the ‘Ice Lake Shelter’, which also provides shelter and basic food such as soups and tea. It is recommended to bring your own food and water as well, especially for the summit itself.